What is Workforce in QuickBooks? How do I create a workforce? Is QuickBooks Workforce free? How to set up QB Workforce? Many users have such questions about QB Workforce. Are you one of them? If yes, then relax! We are here to assist you with the useful article. Here you will learn how to set up the process of QuickBooks Workforce, invite employees, and view pay stubs and W-2. Read the article and learn all about QuickBooks Workforce.
The QuickBooks workforce is a part of the payroll services. It gives access to employees to view and print their pay stubs and W-2 easily. When the employer runs payroll, employees get notified with the email that their pay stubs are ready to view and print.
It is compatible with Intuit’s QuickBooks 2009 version or newer. You can set up Workforce in QB Desktop and Online payroll versions and begin inviting your employees for using workforce services.
Is there a cost for the QuickBooks workforce?
There is no additional cost for installing or signing up for QuickBooks Workforce. Only you should have an active subscription to QuickBooks. It is a pre-loaded feature QB Desktop and Online Payroll and you just need to activate it to get started. Keep in mind you need a basic or enhanced version of QuickBooks Desktop and any version of QuickBooks Online in order to activate it.
How to Set up QuickBooks Workforce account
Here we are going to discuss the process of setting up a QuickBooks Workforce account. Let’s start the process.
Step 1: Accept the Invitation from your Employer
Before viewing and printing paychecks or W-2s, you need to accept the Workforce invite from the employer. The invitation link is valid for up to 30 days.
- Search for an email with the subject line: [Business Name] has invited you to view your pay stubs online. If you don’t see any email, check your spam folder.
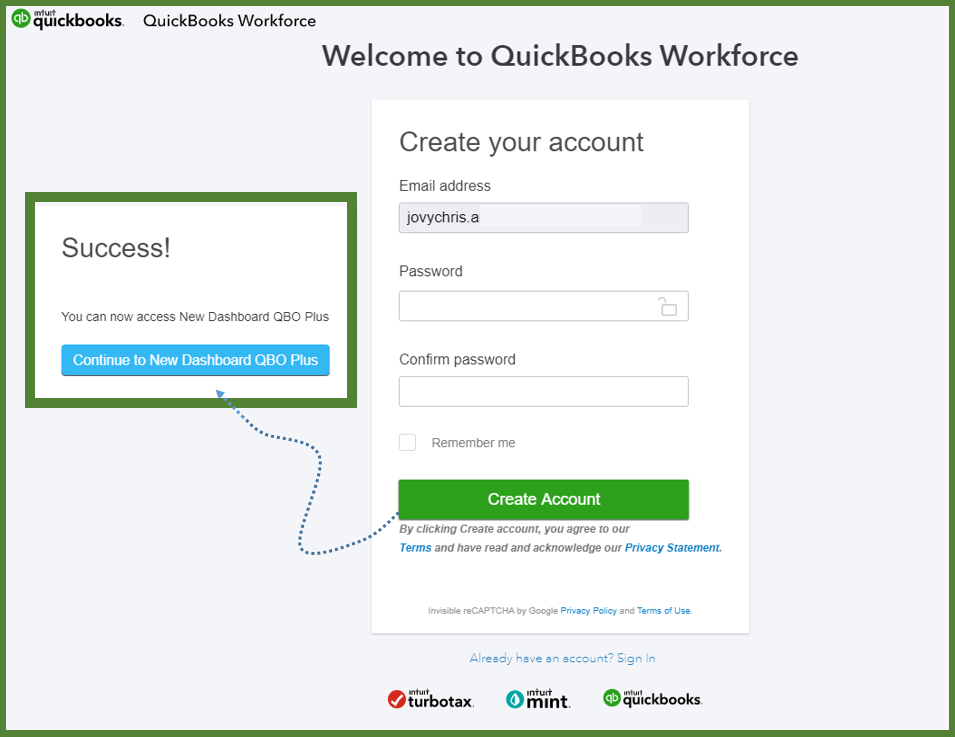
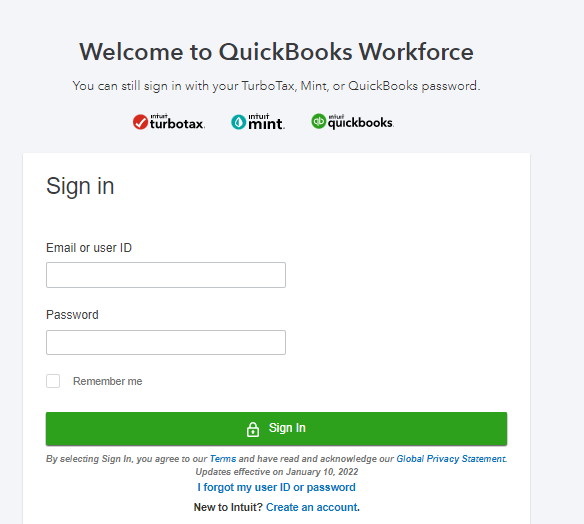
- After opening the email, click create an account or sign in to accept the invitation.

- Now you can create your Intuit account with your email and password. Sign in with another email id and password if you are already having an Intuit account.
Note: If you use QuickBooks Online, use a different email address for the QuickBooks Workforce account.
Step 2: Fill your Personal Information
If you are recently hired then you may need to add some personal details.
- Open the email and select Get set up or Complete setup now.
- Fill in all the information such as W-4, personal, and bank account. The bank account will appear if you have selected to pay through direct deposit.
- Now, sign in your W-4 after making sure that all the information is correctly filled in.
- Click Select or Save.
Now your information is saved and your employer can see it.
Step 3: Turn on Notifications
For new pay stubs, you can turn on the notifications to get email reminders. For setting up this feature, follow the below steps.
- Sign in to the workforce.intuit.com
- Click on the Settings ⚙ icon.
- Select Email Notification.
- Choose to Send me an email when new pay stubs are available.
Other Recommended Articles:
How To Resolve QuickBooks Error 6209
How To Resolve QuickBooks Error Code 6150
Learn easy steps to fix QuickBooks Error 12002
How to Invite Employees to view pay stubs and W-2
You can invite your employees to QuickBooks Workforce to view pay stubs and W-2. you can also invite new employees to add personal details. Let’s see how you can invite employees to QuickBooks Online Payroll, QuickBooks Desktop Payroll, and Intuit Online Payroll.
Invite Employees to QuickBooks Workforce in QB Online Payroll
You can invite a new employee and an existing employee to QB Workforce in QB Online Payroll.
Invite a new employee
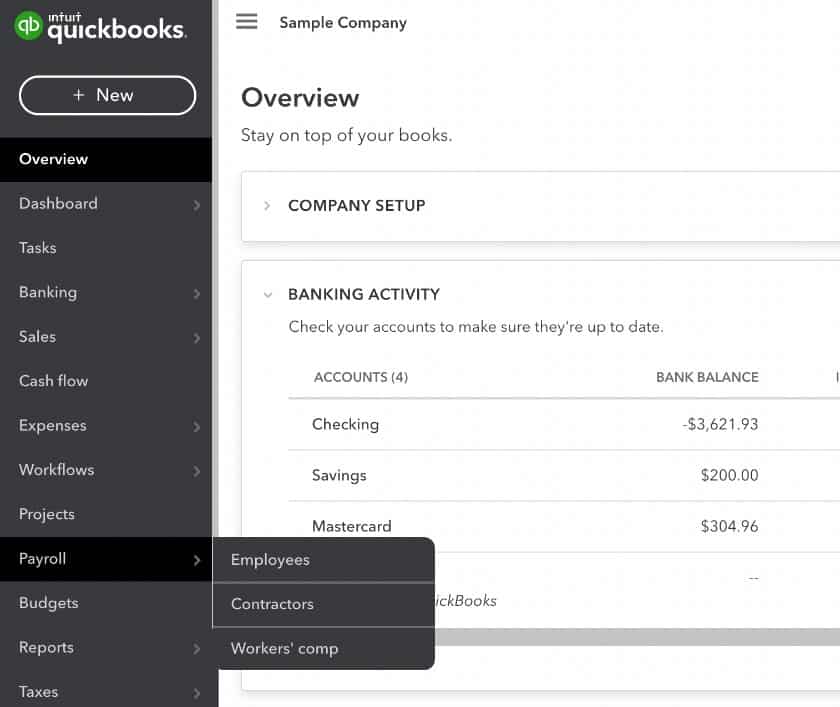
- Choose Payroll and then Employees.

- Select Add an employee.
- Add employee details and all the required details. This will invite employees to view their pay stubs and W-2.
- To ask the employees to ad their personal info, click the Ask this employee to enter their personal, tax, and banking info with QuickBooks Workforce checkbox.
- Hit the Done button.
Invite the existing employees
You can invite individual and multiple employees at once.
- Choose Payroll and then Employees.
- Select Invite to Workforce.
- Check the boxes next to the employees’ names and enter their email addresses.
- Once you select, click on Send invitation.
Invite Employees to QuickBooks Workforce in QB Desktop Payroll
Invite your employees to QuickBooks Workforce in QB Desktop Payroll to view their pay stubs and W-2. Follow the steps to do so:
Invite a new employee
- Click on the Employees and then Employees Center.
- Click Add new and add new employees.
Invite the existing employees
- Sign in to QuickBooks as an administrator.
- Go to the Employees menu, click Manage Payroll Cloud Services.
- Go to the QuickBooks Workforce, turned on the status, and click Invite Employees.
- Sign in to the Intuit account. Employees list will appear.
- Select the employees and enter their email addresses.
- Click Send Invite.
Invite Employees to QuickBooks Workforce in Intuit Online Payroll
You can invite your employees to QB Workforce in Intuit Online Payroll. Follow the mentioned steps to do so.
- Click the Employees tab and select the employee’s name.
- Go to the Employee Site Access section and click Edit.
- Click Online pay stub access and add the employee’s email address.
- Check the Access their pay stubs online, and click Send Email.
How to View Paychecks and W-2s in QuickBooks Workforce
After setting up for QuickBooks Workforce, you can view your W-2s, paychecks, and other employment details such as bank account info and home address. Learn how to view your information in Workforce.
Getting Pay Stubs
Here you will learn how you can view and download your pay stubs. Let’s start:
- Sign into Workforce account.

- Choose Paychecks and appropriate date range.
- Follow any one of the following, which you want to do.
- Click the Download button on the pay stub you want to download.
- To open, view, download, or print, select a paystub.
- If Download all button is available for you, choose it to download all the pay stubs at once.
View your Time Off, Year-To-Date Pay, and Personal Info
You can see your important information on the Paycheck screen.
Select Profile to check your personal, tax, or bank details.
- Available time off: you can check your vacation, sick, and other available time off balances.
- Year to date: year-to-date gross and net pay, withholding, and deductions.
Get your W-2s copies
If you want to check your W-2 copies B, C, and 2, you can find them from the W-2 screen.
- First of all, go to the W-2 menu.
- Then select the W-2 copy that you wish to view or download.
Some Common Questions Asked by Users
Most of the users, those who already know about the QuickBooks Workforce, have some common queries or have doubts in their minds. Here in this section, we have provided some of the answers to the common question which is asked by the QuickBooks users. Have a look, you may get an idea, or may clear your doubt through this section.
Query 1: What to do, when a user already sent an invite to his or her employee, but the employee is not able to find it?
Solution:
You can check it through 3 simple procedures, and these are:
- Open the employee mail ID, and check the spam or junk files.
- Ensure the email address is correct. But remember that, if you are a QuickBooks Online user, and your employees have access then, ensure that, your employees use a different email ID for the Workforce account, which he/she is used for signing in to QuickBooks Online.
- Otherwise, resend the invitation again.
Query 2: Can an employee use the QuickBooks Workforce, after the cancellation of Payroll Service?
Solution: Well, the answer is yes. An employee can use the QuickBooks Workforce for 12 months after the cancellation of the payroll service. After 12 months an employee will not be able to use the Workforce account. So it should be your responsibility to aware them to print their documents for their own records. But it is only applicable for the QuickBooks Online Payroll user not for the QuickBooks Desktop Payroll user. The QuickBooks Desktop Payroll user will lose their access immediately after the cancellation of the payroll service.
Query 3: If a user switched from one payroll service to another, can an employee see his pay stubs in QuickBooks Workforce?
Solution: Yes the employees can see their pay stub in QuickBooks Workforce in the original payroll service. In the new account, they will not be able to see their pay stubs. You need to invite your employees for the new account, or the new service.
For QuickBooks Online payroll users, users can see their pay stubs after the cancellation of the payroll service.
For QuickBooks Desktop payroll users, the users can’t see their pay stubs after the cancellation of payroll service in Workforce.
Query 4: The employees are not able to see their W-2 form in QuickBooks Workforce.
Solution: It totally depends on your payroll service, generally, on January 1, W-2S are not available immediately in QuickBooks. It is available automatically in QuickBooks on 15 January.
- QuickBooks Online Payroll: If the ‘Allow employees to import W-2 data into TurboTax’ is disabled, then your employees will not be able to see the W-2 S in the workforce. To enable it, follow the procedure;
- Go to the ‘Setting‘ tab, and select the ‘Payroll Settings‘ option.
- After that, in the titled section, go to the ‘Shared Data‘, and click on the ‘Edit‘ option.
- Now check the box to enable it, ‘Allow employees to import W-2 data into TurboTax‘.
- QuickBooks Desktop Payroll: You have to upload the W-2S forms at the time to submit them. Check the ‘Provide employees with secure TurboTax’ to submit the W-2S.
If you are an existing QuickBooks Payroll services user, set up your Workforce account at zero cost. If you find any issues during the process or have any queries, connect with our QuickBooks ProAdvisor for instant support. Our expert team is well trained and able to resolve your query easily. Get in touch by dialing our toll-free number +1-844-405-0904.
